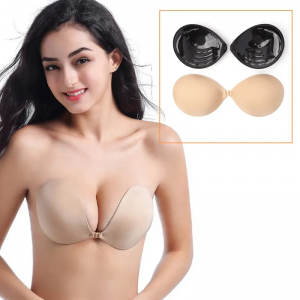
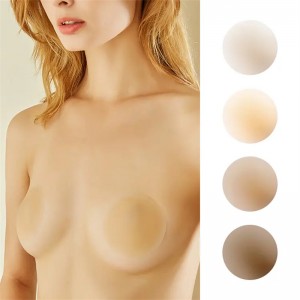
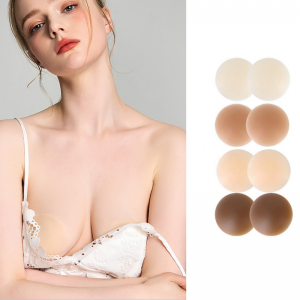
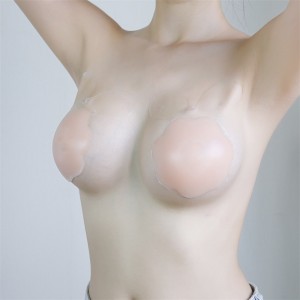
Adhesive Bra/silicone bra/Silicone Reusable Pasties for Women Skin Breast Petals Adhesive Nipple Cover

How to choose the perfect nipple shield: material, size and shape all matter!
There are several factors to consider when choosing a nipple shield. From materials to size and shape, every detail makes an impact on your comfort, durability and overall experience.
First, let’s talk about materials. Nipple shields are available in a variety of fabrics, but it’s important to choose a material that’s breathable and skin-friendly. Look for lids made of soft, lightweight materials such as cotton or silicone. These materials not only ensure maximum comfort but also allow your skin to breathe, preventing any irritation or rashes.
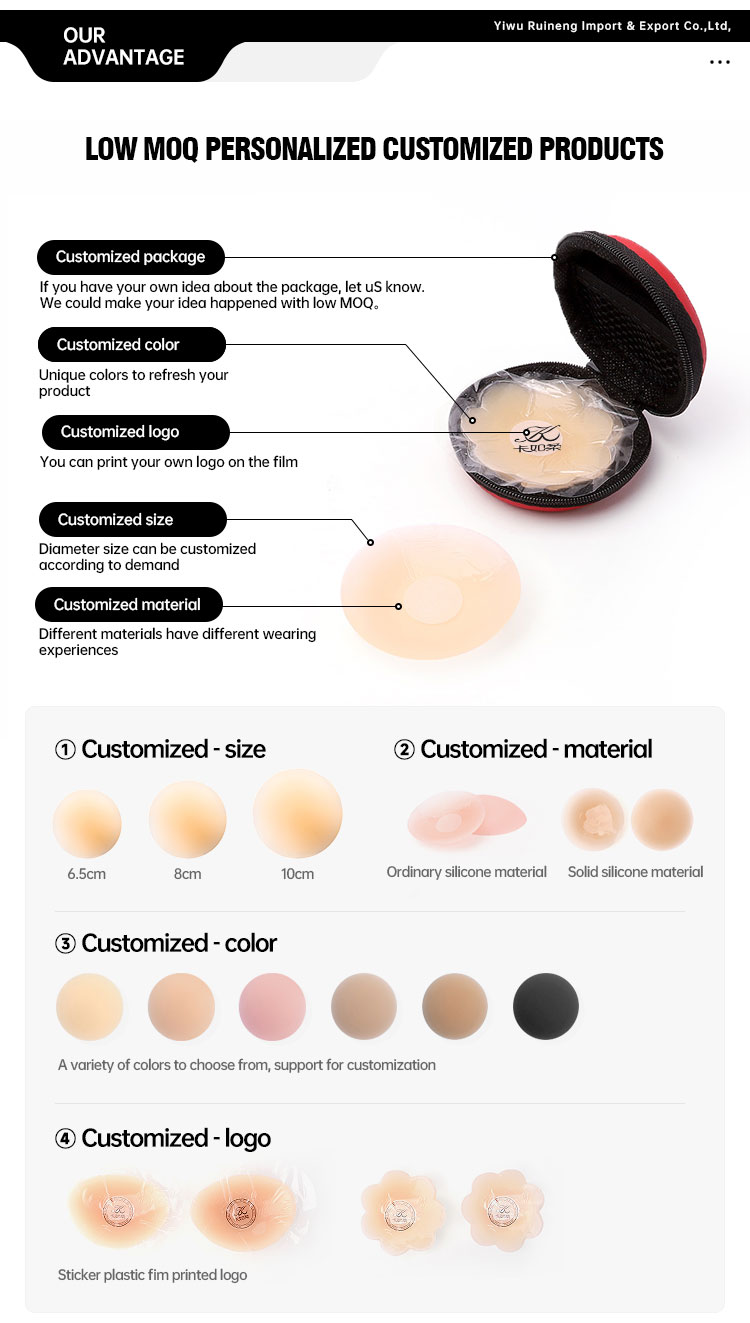
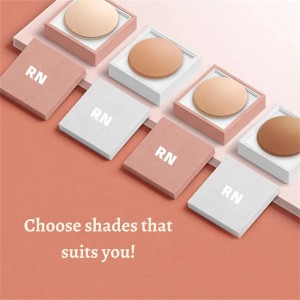
Next, consider the shape and size of your nipple shield. Everyone's breasts are unique, so their needs may vary. Choose a nipple shield that fits the size and shape of your breasts. Some covers have a one-size-fits-all design, while others offer different size options. Ensuring a correct fit is essential for a nipple shield to provide optimal coverage and support.
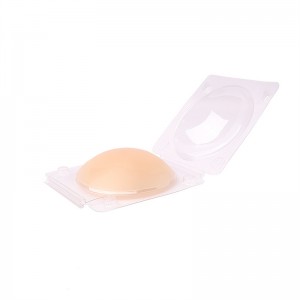
Another important factor to consider is reusability. Investing in reusable nipple shields can be a great option, both environmentally and economically. These covers are usually washable, so you can use them multiple times. Look for high-quality reusable nipple covers that retain their shape and adhesive properties even after multiple uses.
For some, waterproof nipple shields can be a game-changer. If you plan on wearing them while doing water-related activities or just want added protection against sweat, rain, or other moisture, then waterproof nipple covers are your best choice. These covers are specially designed to stay put and provide reliable coverage even in wet conditions.
Finally, don’t forget to measure your breasts correctly. Knowing your breast size is crucial to choosing the right nipple shield. Measure the width and height of your breasts and compare them to the size chart provided by the manufacturer. This will ensure a snug fit and prevent any discomfort or potential wardrobe malfunctions.
All in all, choosing the perfect nipple shield requires careful consideration of several factors. From the breathable and reusable materials to the correct fit of shape and size, every aspect contributes to your overall comfort and satisfaction. Finally, with the right nipple shield, you can confidently wear any outfit without worrying about visibility or discomfort. So take the time to consider these factors and choose a nipple sleeve that makes you feel comfortable and confident.
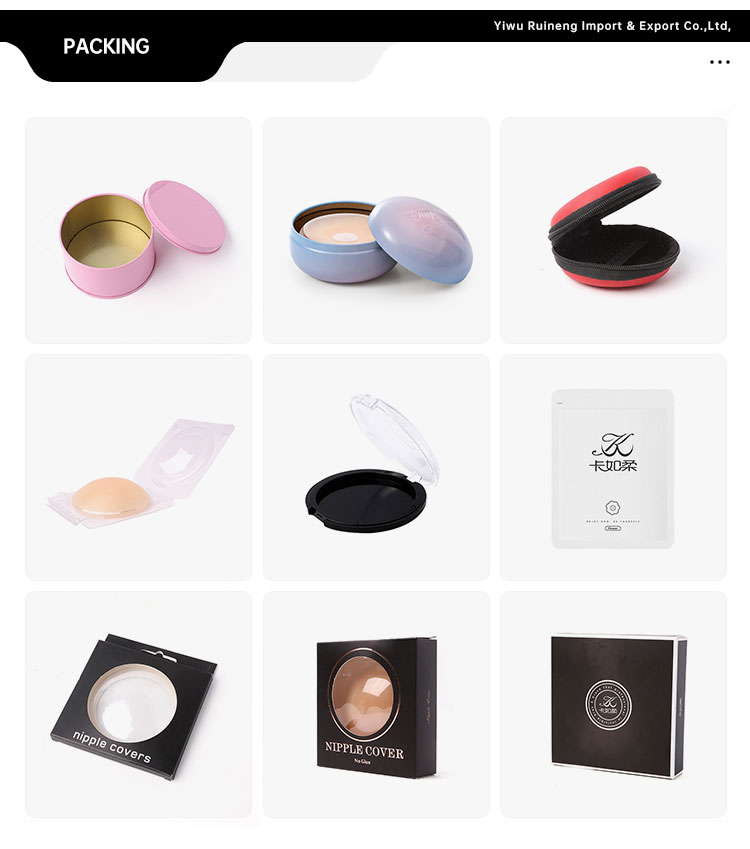
Product details
|
Product Name |
Silicone Reusable Pasties for Women Skin Breast Petals Adhesive Nipple Cover |
|
Place of Origin |
Zhejiang,China |
|
Brand Name |
RUINENG |
|
Feature |
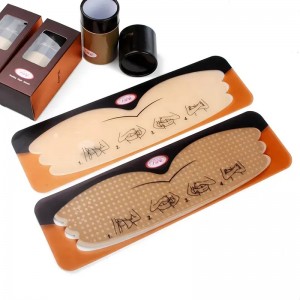
Quickly dry, Seamless, Breathable, Push-up, Reusable, Gathered, Opaque |
|
Material |
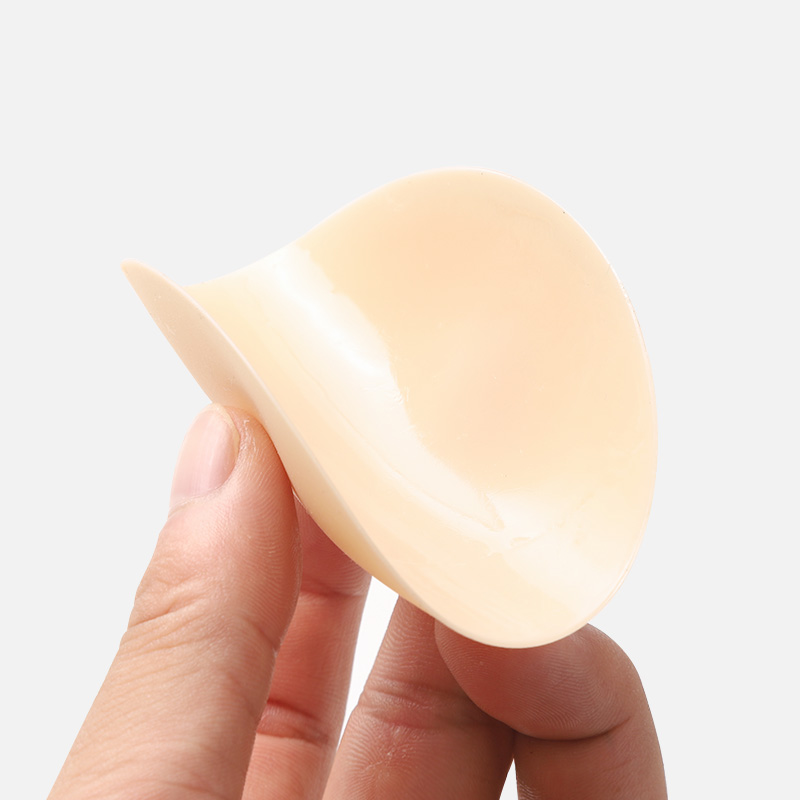
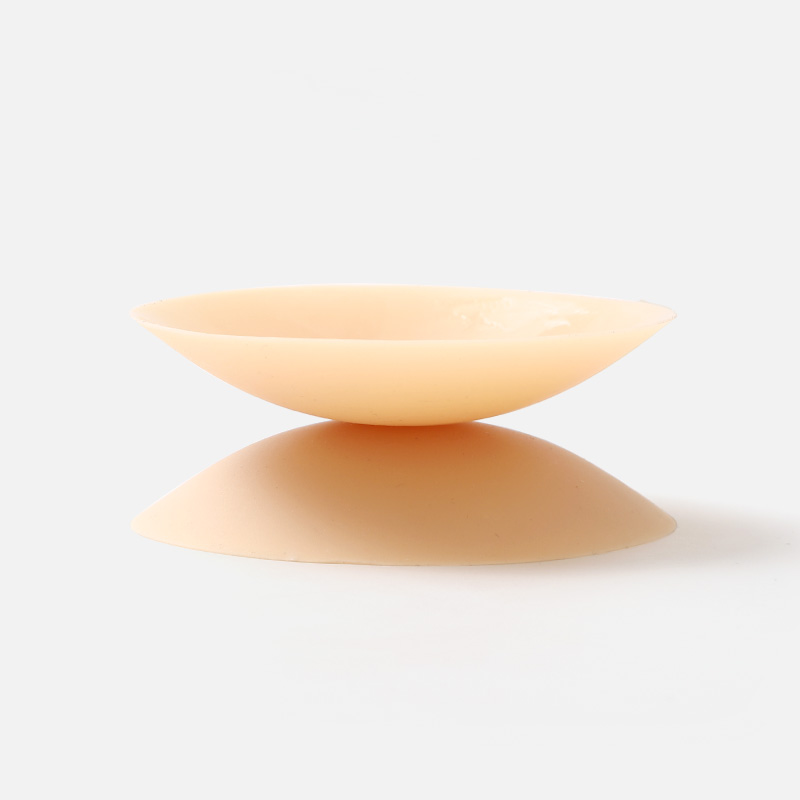
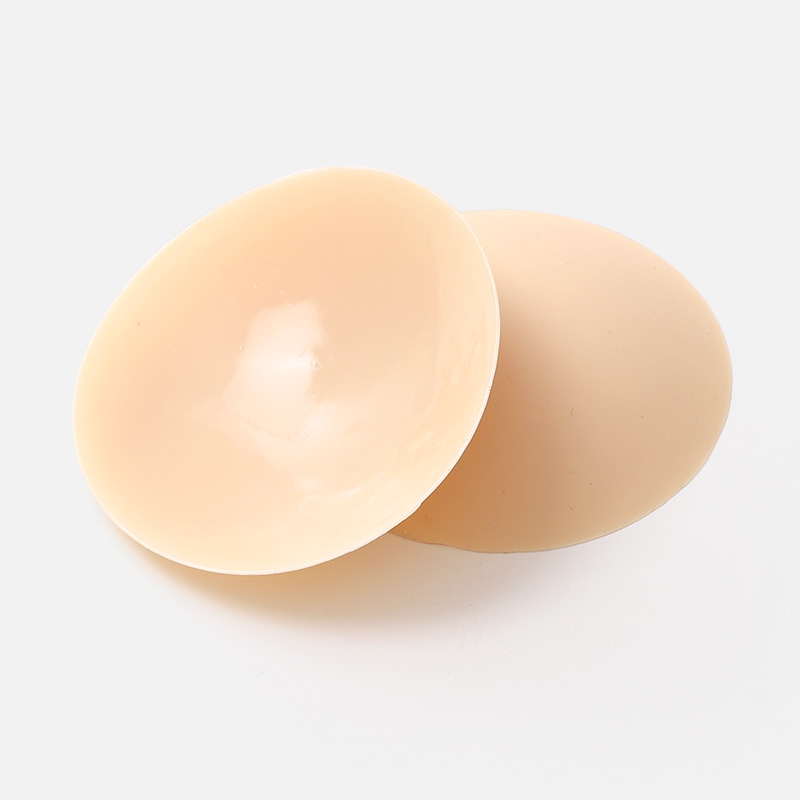
Medical silicone glue |
|
Colors |
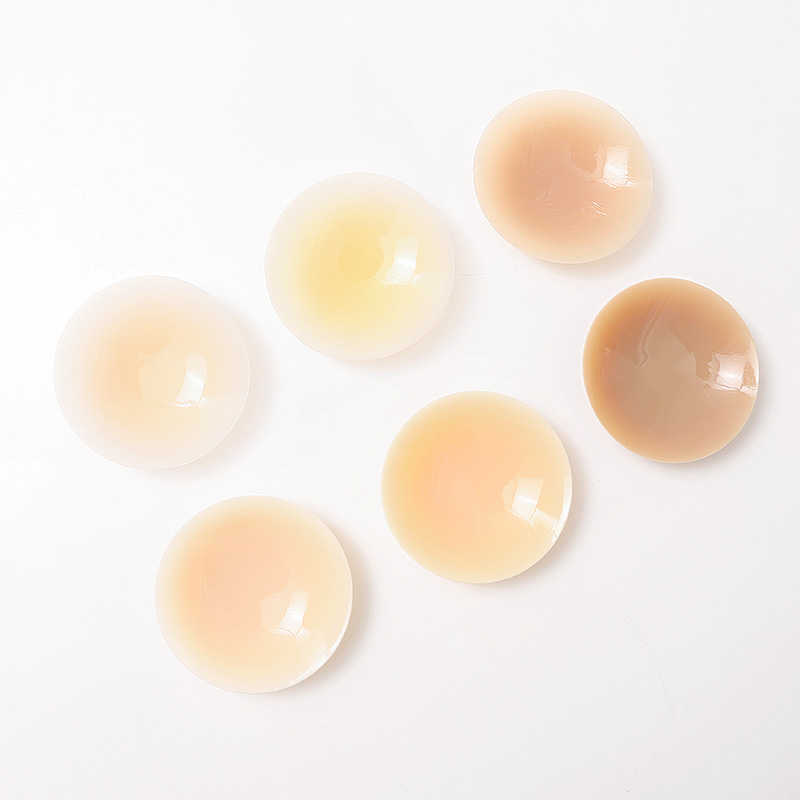
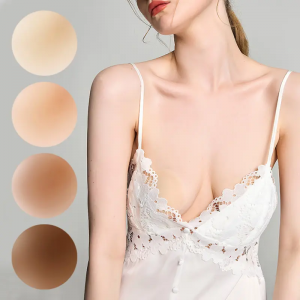
Light skin, dark skin, champagne, light coffee, dark coffee |
|
Keyword |
nipple cover |
|
MOQ |
3pcs |
|
Advantage |
Skin friendly, hypo-allergenic, reusable |
|
Free samples |
Support |
|
Bra Style |
Strapless, Backless |
|
Delivery time |
7-10days |
|
Service |
Accept OEM Service |
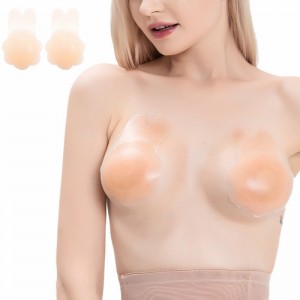
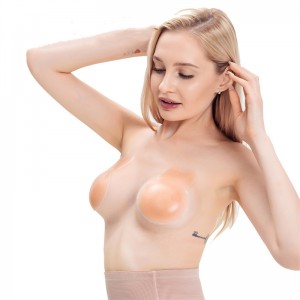
How do you use invisible adhesive bras?
1. Make sure your skin is clean, dry, and free of creams or moisturizers.[1] If you’ve just showered, you should be good to go as long as you haven’t applied any products to your skin. If not, go ahead and use a washcloth with warm water and soap to quickly clean your chest and prepare it for the sticky bra’s adhesive.
(Make sure to dry off completely before applying the bra—the adhesive won’t work if your skin is wet.)
2. Separate the cups for accurate placing if the bra has clasps in the front. Many sticky bras have a clasp or ties in the front, though there are also options that are made of one continuous piece of material. If yours has a clasp in the middle, go ahead and undo it so that you have two separate cups to work with—this way, you can take your time getting each one into exactly the right position.
a). Always check the instructions before putting on your backless bra. Each brand may have a slightly different method for making it stick the best.
b). Work in front of a mirror so you can easily see what you’re doing. If you’re new to wearing a backless bra, it can feel a little weird at first when you try to put the cups on.
3. Remove the plastic backing to expose the adhesive. Locate the edge of the clear plastic film that is protecting the bra’s adhesive from getting stuck on other things. Peel away the adhesive, but don’t throw those strips away! Put them to the side to reapply later and keep your sticky bra in good condition.
a). If you need to set the cups down, make sure to put them adhesive-side up.
4. Flip the cups inside out to apply the bra without air bubbles forming. Simply pop the cups so that the adhesive is sticking out and the front side is concave. When you go to apply the cups, it’ll be much easier to get it to lay flat and adhere completely to your skin.
a). If you have a two-piece bra, focus on doing on cup at a time.
b). Before you move on to attaching the bra, consider placing tissue paper or pasties over your nipples if they tend to be sensitive. When you remove the bra, the sticky adhesive could be painful as it pulls on your nipples. Tissue paper or pasties will keep the adhesive from attaching and alleviate some of that sensitivity.
5. Place the bra over your breast and smooth it upward and outward. Place the cup so that the middle is centered over your nipple. Attach the cup to your breast at the bottom-most point, and then slowly smooth the rest of the cup upwards over your breast, using your hand to push the material flat against your skin. Avoid putting the bottom of the bra under your breast—you may be tempted to replicate the look and feel of a traditional bra, but most sticky bras need to be set up differently to provide adequate protection.
a). If your bra has sticky side panels that extend underneath your arms, get the cup into place first and then smooth down the side panel so it’s flush against your skin.
b). If your bra has detached cups, keep in mind that the further away the cups are from one another, the greater cleavage you’ll have once the clasps are connected.
c). If you’re having trouble with the placement, just take a deep breath, peel off the cup, and try again! It won’t hurt anything to reapply the cup several times until you get it where you want it.
6. Connect the front clasp or ties if your bra has that function. Gently pull the clasps toward each other and secure them into place. Many brands have clasps that simply hook into each other to provide the most security. If there are ties or a corset-type situation, you’ll need to pull the ties as tight as you want them and secure the ends with a knot.
a). Some backless bras come with ties so you can make adjustments to the size of your cleavage. A looser tie means less cleavage, and a tighter tie means more cleavage.


Products categories
-
Adhesive bra/Fabric bra/Hand shape push up bra
-
Adhesive Bra/One Piece Gather Silicone Invisibl...
-
Adhesive Bra/silicone bra/solid matte nipple co...
-
Adhesive Bra/Silicone Nipple Cover/Solid Silico...
-
Invisible Bra/Silicone Invisible Bra/ Big Silic...
-
Invisible Bra/Silicone Invisible Bra/ Matt Roun...
-
Invisible Bra/Silicone Invisible Bra/ Peta Push...
-
Invisible Bra/Silicone Invisible Bra/ Push Up R...
-
Invisible Bra/Silicone Invisible Bra/ Rabbit Pu...
-
Invisible Bra/Silicone Invisible Bra/ Sexy Sili...
-

Invisible Bra/Silicone Invisible Bra/ Silicone ...
-
Invisible Bra/Silicone Invisible Bra/Adhesive S...
-

Invisible Bra/Silicone Invisible Bra/Push Up Si...
-

Invisible Bra/Silicone Invisible Bra/Silicone N...
-

Nipple Cover/Adhesive Non-Woven Disposable Nipp...
-
Silicone Bra/Seamless Matte Nipple Cover